
Many users call technicians about malfunctions in outdoor LED displays, but some basic problems can be solved with simple troubleshooting. Although we are an LED display supplier, we also quickly resolve some of the most common issues for our customers. Outdoor LED displays frequently face malfunctions caused by wind, rain, dust, and temperature fluctuations, some of which rarely require advanced technical expertise. Therefore, we have compiled quick, effective troubleshooting methods for the most common problems, allowing you to restore your outdoor LED display to normal operation without waiting for technicians.
Outdoor LED Display Dead Pixels (Bright Spots/Dark Spots) – Four Quick Repair Steps
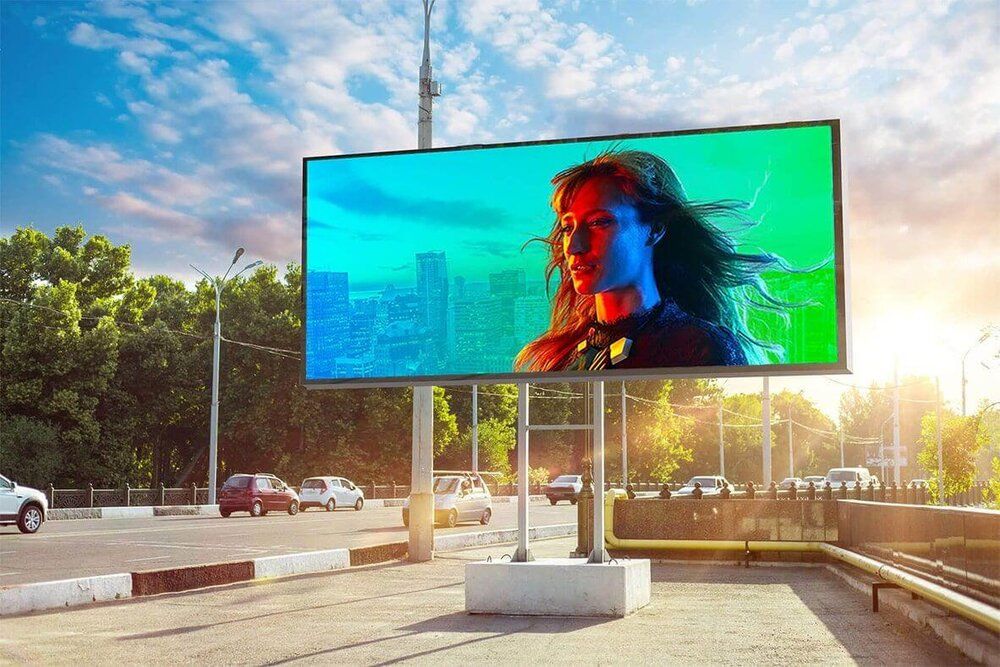
Dead pixels are bright or dark spots on the screen that do not change with the content displayed, and are the most common problem with outdoor LED displays. They are usually caused by loose connections (caused by wind and vibration) or minor firmware faults, rather than permanent hardware failures. They can be repaired using the following four methods:
Locate the affected LED module: Use the display’s control software to “map” pixels – this can determine which small panel (module) the dead pixel belongs to.
Reconnect the data cable: Turn off the outdoor LED display’s power, remove the module’s plastic cover (if any), then gently unplug and replug the data cable (which connects the module to the motherboard). Press firmly until you hear a click; loose cables are usually the culprit for 70% of dead pixels.
Reset the display: Turn on the display power, then press and hold the “Reset” button on the remote control or control panel for 5 seconds. This can clear temporary software errors.
Update firmware: Download the latest firmware from the manufacturer’s website, insert the USB flash drive into the display’s USB port, and follow the on-screen instructions to install. Firmware updates can fix pixel failures caused by outdated code.
![]()
Insufficient or uneven brightness on the outdoor LED display
Inadequate or uneven brightness can make your outdoor LED display difficult to see, affecting visibility during peak hours. Dust, incorrect settings, or voltage fluctuations usually cause this problem. Solutions are as follows:
Clean the ambient light sensor: The small lens-shaped sensor at the edge of the outdoor LED display detects sunlight and automatically adjusts the brightness. Wipe it with a dry microfiber cloth. Dust can block light detection, causing the sensor to misjudge and dim the screen.
Adjust Brightness Settings: Access the display menu and set the brightness to “Auto” (suitable for outdoor use) or 70-80%. Avoid prolonged use at 100% brightness, as this can damage the LEDs. If the brightness is uneven, select “Uniformity Calibration” to balance the output of each module.
Check Power Supply: Use a simple voltage tester to confirm that the input voltage is within 10-15% of the display’s rated voltage. A voltage drop will reduce brightness.
Wipe LED Modules: Turn off the display power and gently wipe the front of the LED modules with a slightly damp microfiber cloth to reduce dust accumulation.
Outdoor LED display Flickering, Resolved Quickly
Screen flickering, alternating brightness, or blinking can severely impact the viewing experience and often indicates a connection or power problem. This is most common after rain, when rainwater seeps into the cables, or after strong winds loosen the power cord. Here are some standard basic solutions:
Check Power and Data Cables: Inspect the cables connecting the outdoor LED display to the power socket and control box. Check for wear, water damage, or loose plugs. If worn, replace immediately.
Ensure secure connections: Unplug the power cord and data cable, then replug the display and control box. For outdoor installations, use cable clips to secure the wires, as wind and vibration can loosen connections over time.
Change power outlets: Plug the outdoor LED display into different outlets to rule out a malfunctioning outlet. If using an extension cord, replace it with a heavy-duty outdoor extension cord, as thin extension cords can cause voltage fluctuations and flicker.
Disable energy-saving modes: Some displays have an “energy-saving mode” or “sleep mode,” which can cause flickering. You can disable these features in the menu; they are designed for indoor use and not suitable for outdoor environments.
Unable to power on, perform emergency checks
An outdoor LED display malfunction is anxiety-inducing, but 90% of power problems are easy to fix. Here are some things to check without panicking:
First, check if the outlet is working. If the outlet is not working, reset the circuit breaker. Then check the power button and remote control, ensuring the outdoor display’s power button is in the “on” position. You can also test by replacing the remote control batteries, as dead batteries are a common cause. In addition, most outdoor LED displays use surge protectors to prevent lightning strikes. If the surge protector’s “Reset” indicator is off, press the reset button; it will trip during storms or voltage spikes. The power supply unit also needs to be checked; the box connecting the display and power supply will light up green when it’s working. If the indicator is off or red, unplug the power cord from the power supply unit for 30 seconds and then plug it back in; this will reset the internal circuitry.
Color Distortion and Tone Mismatch
Color distortion often manifests as red appearing orange or blue appearing purple, damaging the brand’s visual image and user experience. Incorrect color settings or loose video cables are usually the cause of this problem. Here are some solutions:
First, check the video cables. Unplug the HDMI/Ethernet cable connecting the outdoor LED display and the content source, and then plug it back in. Loose cables can cause signal loss, resulting in color distortion. Then reset the color settings by entering the display menu and selecting the “Factory Reset” option. Avoid using custom color presets, as they often cause image distortion. If resetting doesn’t work, manually adjust the red, green, and blue levels, adjusting each in turn until the colors match. Additionally, if you are using a media player or computer to serve content, please update its operating system or media software; outdated software may send corrupted color data to the display.
Water Damage After Rain or Snow
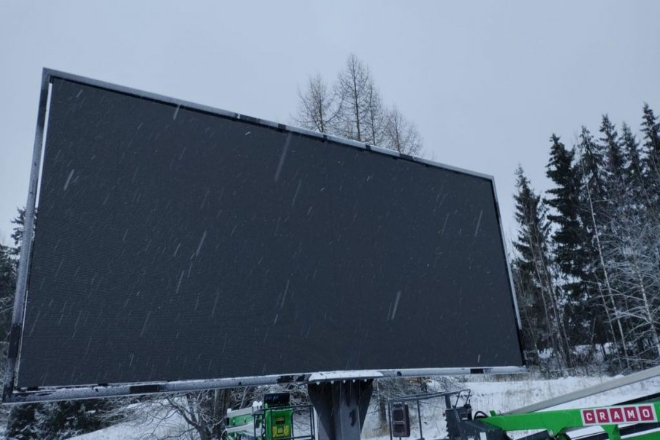
JRVISUAL’s outdoor LED displays are weatherproof (IP65+ protection rating), but heavy rain or snow can still seep into gaps, causing short circuits or screen fogging. If this occurs, take immediate action to avoid permanent damage:
Immediately disconnect the power by unplugging the display or turning off its circuit breaker. Water and electricity are dangerous and will exacerbate the damage. Then wipe the display bezel, cables, and control box with a towel to remove water. Avoid pressing water into gaps; instead, gently pat dry. If the screen fogs up, place a dehumidifier near it or cover it with a waterproof cloth and let it dry for 24-48 hours. Do not turn on the display until the screen is completely dry. After drying, check the cables and connectors for green or white corrosion. Wipe away corrosion with an alcohol-soaked cotton swab; this corrosion can obstruct signals and damage components.
Reduce downtime with simple troubleshooting methods.
Some fundamental outdoor LED display problems require no specialized technical knowledge; a quick check of cables, settings, and sensors is all it takes. Using these methods, you can resolve 80% of problems in 30 minutes or less, saving hundreds of dollars in repair costs and preventing outdoor LED screens from malfunctioning. Remember, prevention is key: conduct monthly inspections and protect your display from extreme weather to reduce the occurrence of problems.