
Choose an indoor LED display for conference room cameras only after testing the proposed display configuration with the actual camera chain. Buyers should align viewing distance, camera position, refresh behavior, scan settings, brightness, color, room depth, and front-service access, then preserve filmed evidence and approved acceptance settings. At the same time, a meeting room display serves two audiences. People in the room must read content from every seat, while remote participants depend on the camera image. A specification that handles only one audience can produce readable slides in person and unstable bands, moiré, clipped highlights, or color differences on video. For an indoor LED display for conference room cameras, check both in-room viewing and on-camera performance as part of the same test.
What Should Buyers Confirm for an Indoor LED Display for Conference Room Cameras?
Start with one coordinated brief shared by the AV integrator, camera team, architect, display supplier, and end user. It should define the room geometry, planned screen size, mounting height, nearest and farthest seats, camera locations, common shot sizes, content formats, and maintenance route. Record the expected video-call platform and any recording or streaming workflow the room will use.
The supplier should respond with a scaled elevation, display layout, proposed processing path, power and signal locations, access drawing, and a list of settings used during the camera test. Treat quoted performance as a proposal that needs confirmation on the selected model and configuration. Do not substitute a showroom clip made with an unknown camera, processor, or exposure setup.
How Does Camera Position Affect an Indoor LED Display for Conference Room Cameras?
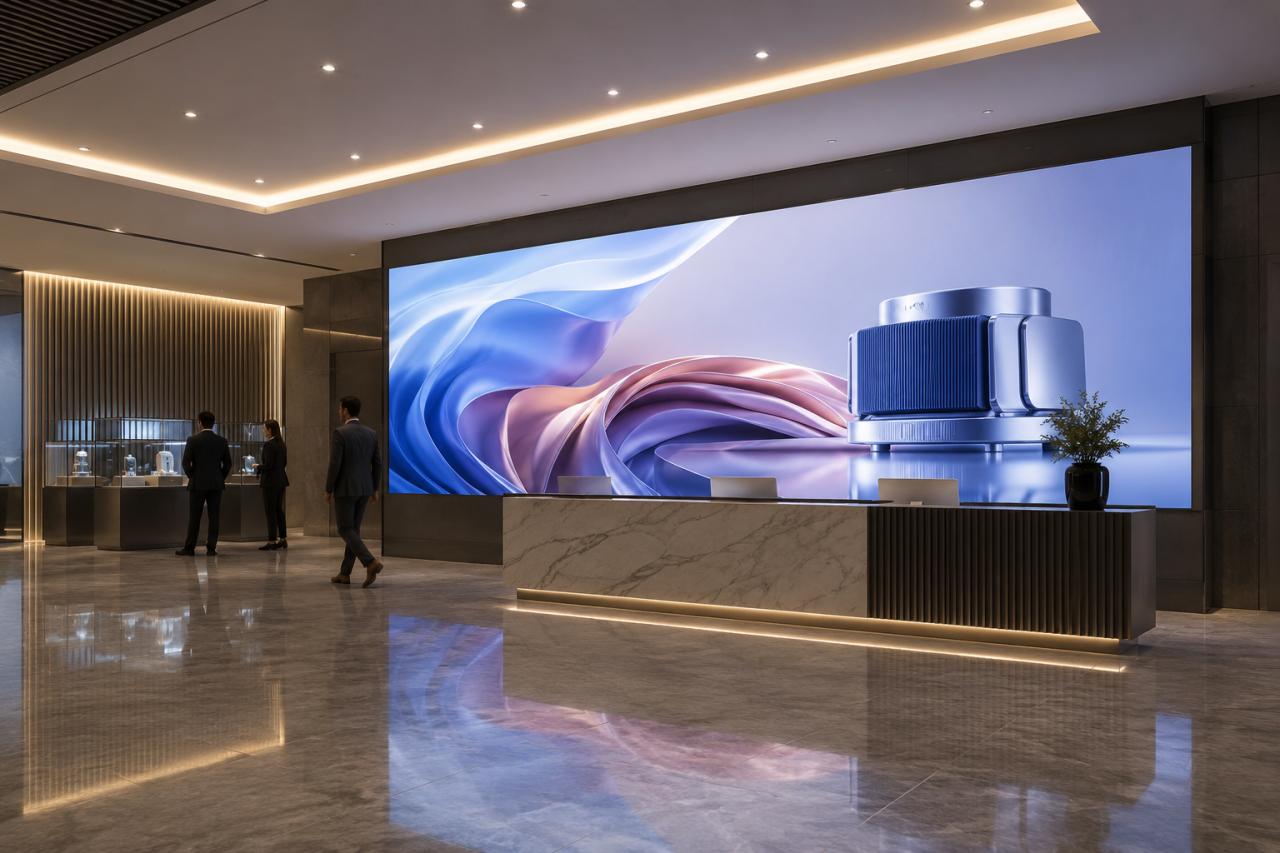
Camera distance and angle can reveal patterns viewers do not notice with the naked eye. A camera placed close to the wall may resolve the pixel structure or create moiré with the sensor. An oblique camera can see module seams, surface reflections, or brightness changes differently from a centered camera. The same wall may therefore behave differently in a wide room shot and a tight speaker shot. Plot every fixed and likely mobile camera on the room plan. For each position, record the expected focal length range, framing, height, and movement. Then test the screen with those positions instead of relying on one centered clip. If the room will use auto-framing cameras, include the crop and zoom states that the system may select during normal meetings.
Which Display and Camera Inputs Need a Joint Test?
Refresh rate, scan mode, processor timing, brightness, grayscale behavior, shutter speed, frame rate, exposure, aperture, gain, and white balance can interact. A change that removes a rolling band may alter exposure or motion rendering. Buyers should ask the display and camera teams to record each tested combination so they can repeat an acceptable result after commissioning.
| Input Group | Record Before Testing | Review in the Clip |
|---|---|---|
| Display | Model, module, processor, refresh and scan settings supplied for the test | Bands, line artifacts, low-gray behavior, motion, seams |
| Camera | Camera and lens, frame rate, shutter, exposure, gain, white balance | Moiré, highlight clipping, color, noise, focus |
| Room | Camera position, distance, angle, ambient lighting state | Reflections, apparent uniformity, readable content |
| Content | Native canvas, test patterns, slides, faces, motion sequences | Detail, gradients, typography, skin-tone balance |
The goal is a compatible operating window, not a single lucky clip. Repeat the preferred settings after a power cycle and after switching typical room lighting scenes. If the team uses a production timing workflow, align documentation and acceptance language with the relevant SMPTE standards selected by the project engineer.
How to Review an Indoor LED Screen Test Before Approval?
Use representative equipment and keep the test traceable. The filmed record should show the complete wall, a close crop, dark and bright content, gradients, fine lines, moving elements, and a person standing in front of the display. Include the camera settings and display configuration in the file name, slate, or test log so reviewers can connect each clip to its conditions. Review the original recording, not a clip compressed by a messaging platform.
Check it on the intended conferencing path as a separate step, because software encoding can introduce artifacts absent from the camera feed. Ask the supplier to explain any remaining limitations and state which settings, viewing positions, or content treatments define the accepted result. A project team comparing an Indoor LED Display should request a test configuration that matches the proposed room. The target page provides product-category context; signed project documents must confirm the selected configuration and its tested behavior.
Room Fit and Front-Service Planning for a Meeting Room LED Display
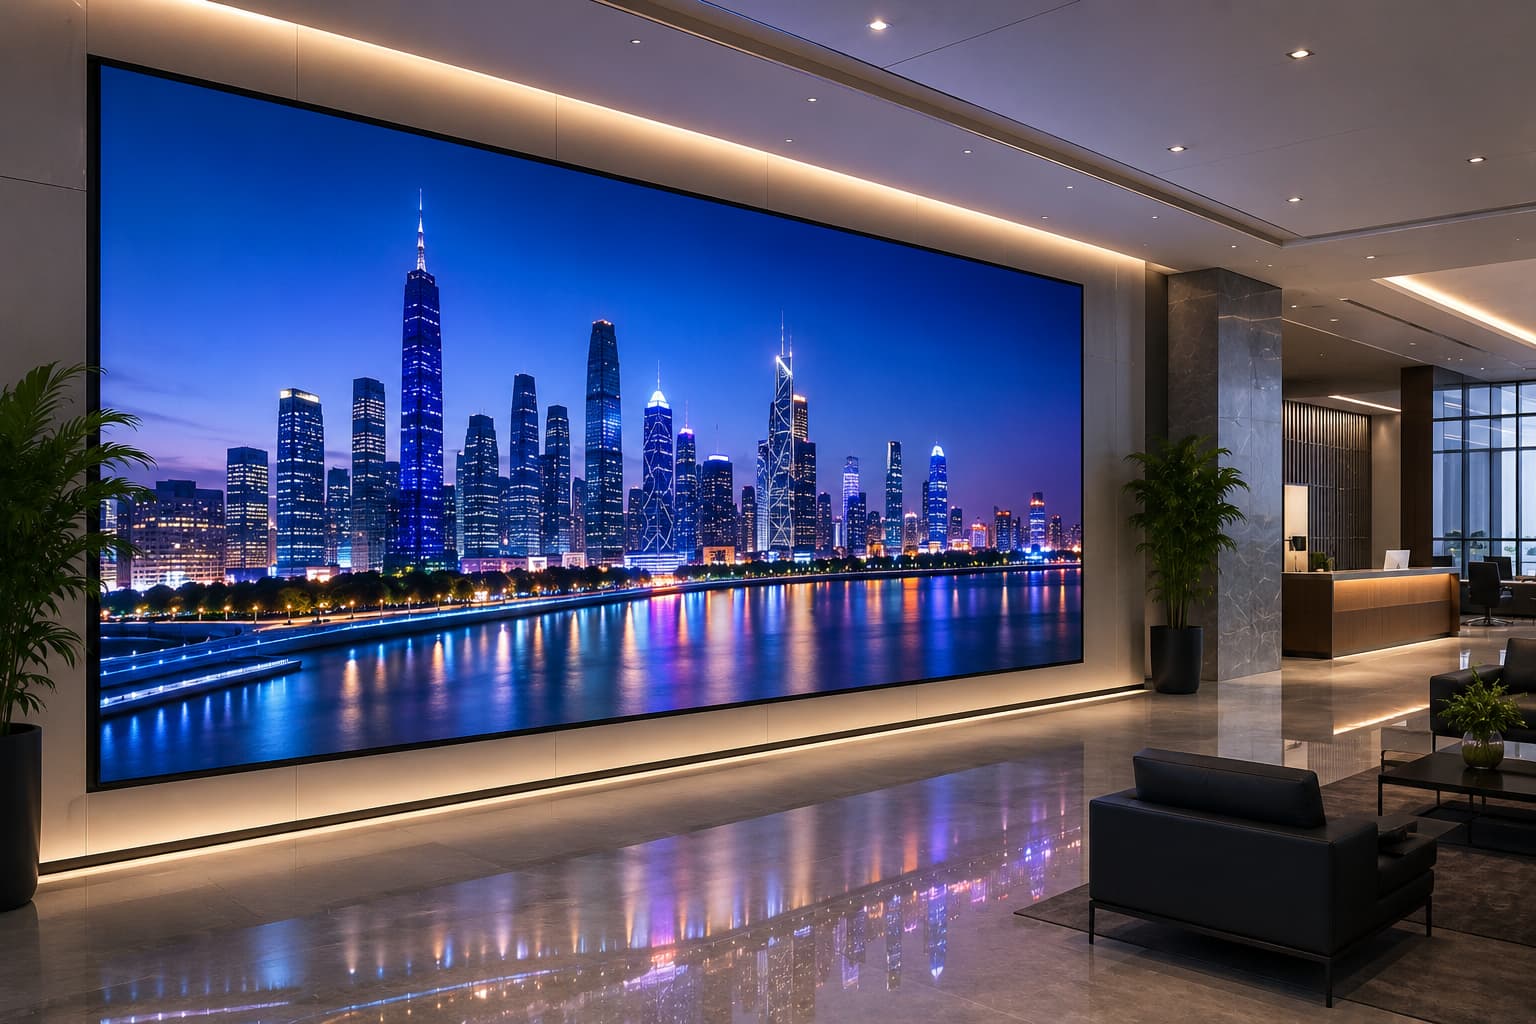
Camera performance does not solve a wall-depth conflict. Coordinate the structural attachment plane, finished display face, ventilation allowance, cable entry, power distribution, controller location, door swings, sprinklers, ceiling interfaces, and acoustic finishes. Mark the display face separately from the support frame so the build-up does not consume space reserved for modules or service work. For a front-service design, verify the module removal path and the reach needed for power or receiving components. A supplier drawing should show service zones at edges, corners, and around architectural trims. The Indoor LED screen quotation should also state what remains accessible after the room furniture, millwork, and ceiling are complete.
What Evidence Should an Indoor LED Video Wall Supplier Provide?
Procurement teams need evidence that connects the proposed equipment to the actual room. Request scaled drawings, an equipment schedule, the display configuration used in tests, original camera files, lighting conditions, service-access drawings, and a list of unresolved assumptions.
Each test record should carry a date and configuration identifier, so later revisions cannot be confused with the approved sample.
- Scaled room plan and elevation with every camera and key seat marked.
- Display layout, processor path, power and signal routing, and service-access drawing.
- Camera model, lens, distance, angle, frame rate, shutter, exposure, gain, and white-balance record.
- Display model and the refresh, scan, brightness, color, and processing settings supplied for the test.
- Original clips covering static slides, motion, low-gray content, gradients, close crops, and presenter shots.
- Issue log showing the tested change, result, owner, and agreed acceptance boundary.
If a value is missing, label it for supplier confirmation. Do not convert an unverified setting into a project requirement. The same rule applies to claimed product performance: approve only the model, processor, firmware, and configuration represented by the evidence.
RFQ Checklist for an Indoor LED Display Screen
The RFQ should make bidders answer the same questions. Provide the room drawings, camera schedule, lighting scenes, content examples, planned signal architecture, operating hours, delivery constraints, and service expectations.
Ask each bidder to identify exclusions, required third-party equipment, installation depth, access assumptions, and the proposed test method.
- Confirm the finished width, height, mounting elevation, aspect ratio, and acceptable content canvas.
- Request the exact display, module, processor, control, and power configuration proposed for the room.
- Define the cameras, lenses, positions, shot types, and settings included in the witnessed test.
- Set acceptance checks for visible bands, moiré, color, low-gray performance, motion, uniformity, and dead-pixel handling.
- Require an as-built configuration record, a backed-up processor file, test clips, a service drawing, and a spare-parts schedule.
Use the indoor LED display screen page as the mapped category reference, then attach the project-specific schedule to the RFQ. This separates page-level product discovery from the configuration that the supplier must price and prove.
A Camera-Ready Indoor LED Display Decision Uses Recorded Tests
Approval should follow repeatable evidence from the planned camera positions, room lighting, content, and operating settings. Combine that record with the coordinated elevation and front-service drawing. A buyer can then compare proposals on room fit, on-camera behavior, documentation, and support scope instead of selecting from an isolated display specification. When requesting an Indoor LED video wall proposal, send the room dimensions, camera list, viewing distances, mounting conditions, and typical content to JR Visual.