
The 3D LED wall viewing point determines where content creates its strongest depth effect on the defined physical surface. The LED wall alone does not create the illusion. If the corner proportions, pixel map, camera perspective, and audience path are not coordinated, the object can look stretched, flat, or broken.
The 3D LED Wall Viewing Point Decision
By default, choose the primary viewing point from the real audience path, not the center of the screen. Record viewer height, distance, direction of travel, dwell time, and the visible proportions of both display faces. Then use that position to set the virtual camera and test how quickly the illusion degrades in secondary viewing zones. The steps below connect the chosen viewpoint with corner geometry, pixel mapping, content production, and on-site acceptance.
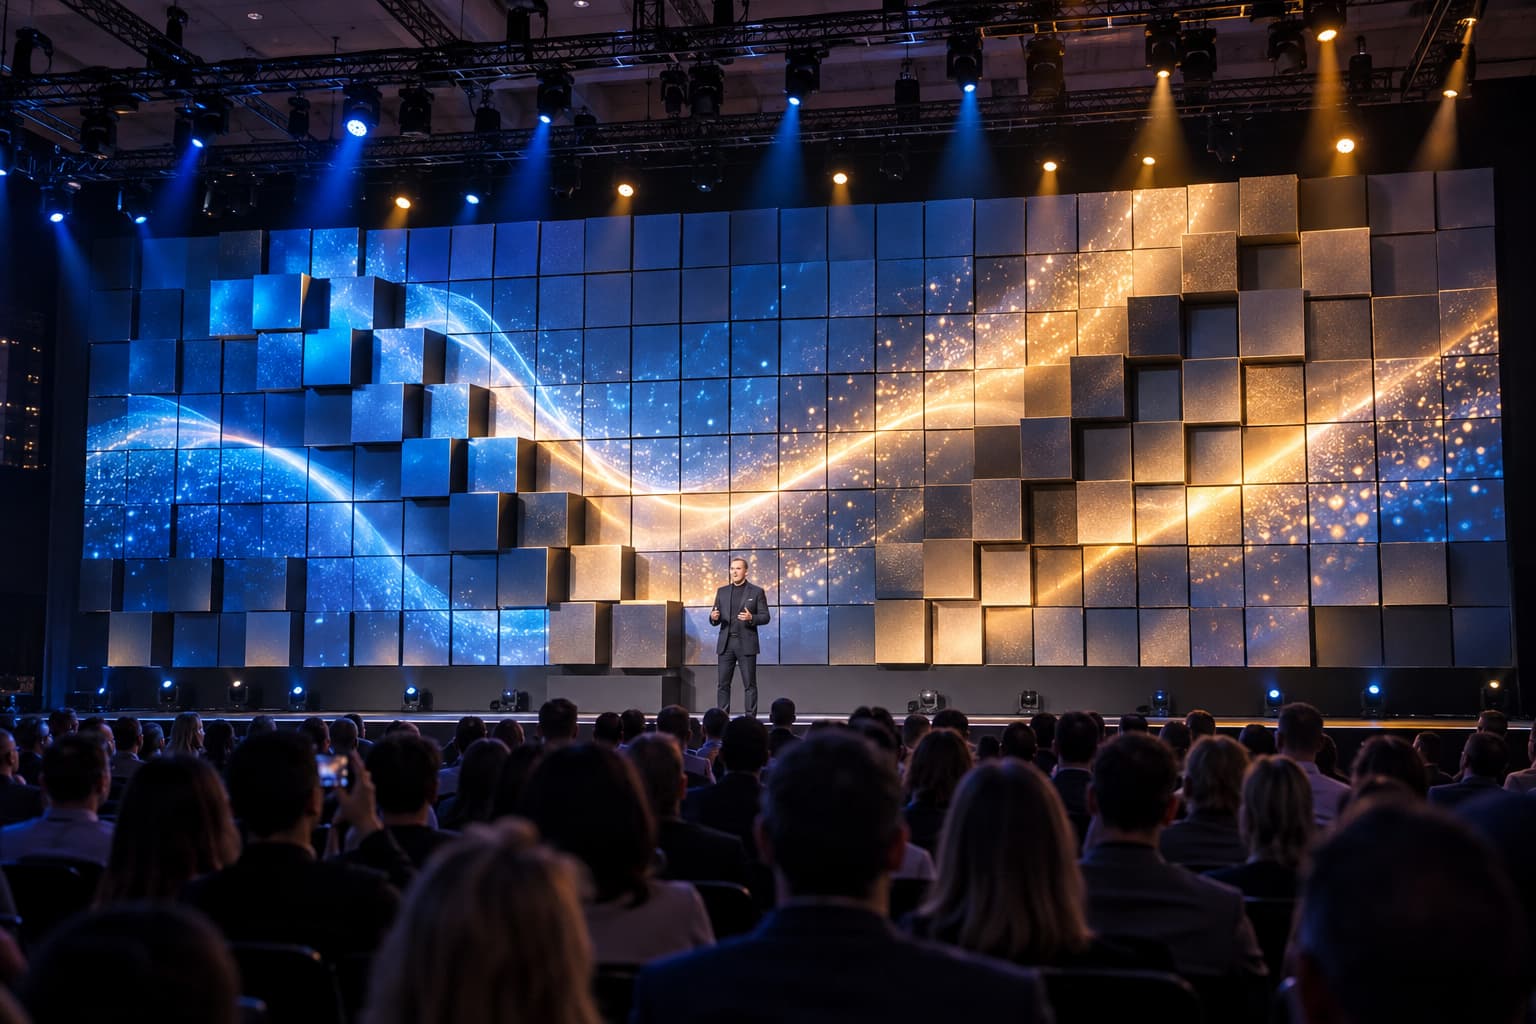
Choose the 3D LED Wall Viewing Point.
Map the real audience route. Record where viewers first see the display, where they are most likely to stop, the approximate eye height, viewing distance, and horizontal range. For roadside or transit sites, include movement direction and dwell time. Select one primary viewing point for the strongest illusion and define acceptable secondary zones. The AVIXA display size and viewing guidance provide useful definitions for closest viewer distance, viewing height, and viewing-area planning. A render cannot remain geometrically perfect from every position. The team should decide how much distortion is acceptable away from the main axis. Document obstructions, reflections, ambient light, competing signs, and camera locations. If social sharing is important, reserve a safe area where visitors can frame the display without blocking circulation.
Set the 3D LED Wall Geometry.
Measure both visible faces, the included angle, mounting depth, corner radius or seam, and the relationship between the screen and the viewer axis. The content producer needs final dimensions, not an early architectural estimate. A 3D LED wall can support the hardware discussion while the article stays focused on viewing-point and content decisions. The ratio between the faces affects the virtual volume available for the anamorphic scene.
If the project needs physical module movement or changing depth rather than a static anamorphic corner, If the project needs physical module movement or changing depth rather than a static anamorphic corner, If the project needs physical module movement or changing depth rather than a static anamorphic corner, review the Kinetic LED Display before locking the mechanical concept. If the installation combines several custom forms, compare the creative lighting solutions led. A narrow side face may make the depth cue fragile, while an oversized side face can consume resolution without improving the main view. Check cabinet and module layout across the corner. Mechanical tolerances, corner construction, waterproofing for outdoor projects, and service access can change the usable canvas. Approve these details before locking the content template.
Pixel Pitch and 3D LED Wall Calibration
The Indoor LED Display provides related options when the project needs a conventional fixed indoor canvas. Pixel pitch should match the intended viewing distance, display size, content detail, brightness target, and camera use. Finer pitch isn’t automatically better if the audience is distant, the structure becomes difficult, or heat and power rise beyond site limits. For photographed or filmed installations, test moiré, scan behavior, refresh rate, shutter settings, and exposure. Phone cameras vary widely, so test representative devices if user-generated content is part of the objective. Define brightness for day, night, and any local restrictions. High output cannot correct poor geometry, and excessive night brightness can reduce perceived black level and viewing comfort.
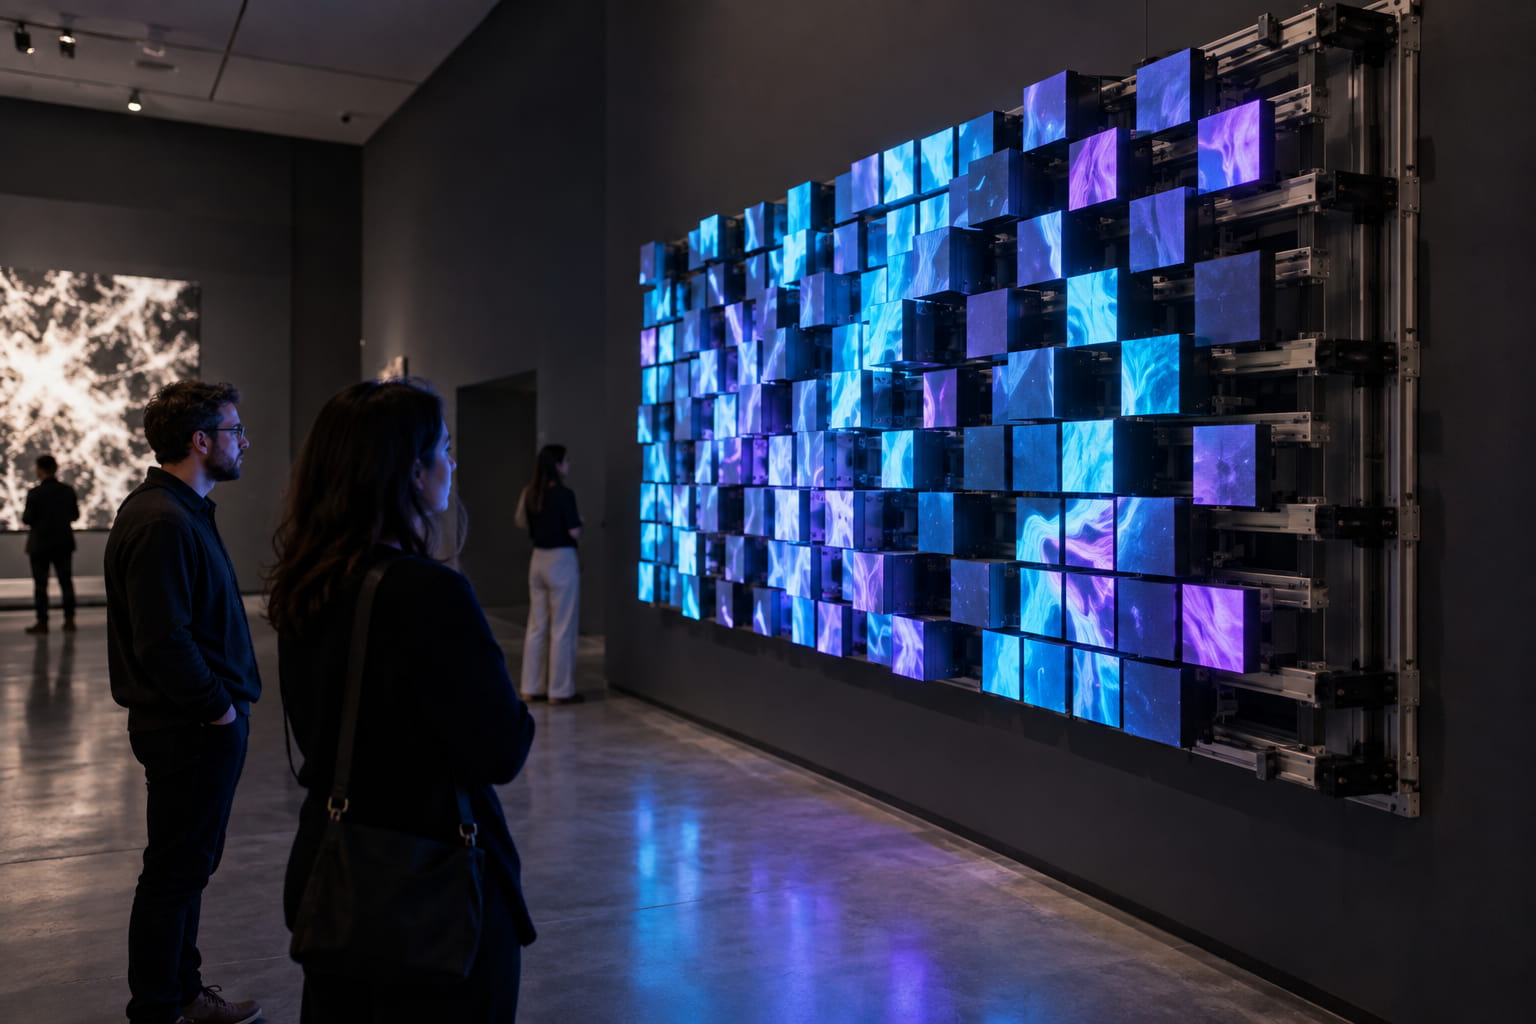
Build the 3D LED Wall Content Canvas.
The display supplier should provide the exact active resolution of each face, data orientation, seam position, and masked area. The media team should then create a master canvas and virtual camera that match the physical installation.
Use calibration content before final rendering:
- Numbered grid for pixel orientation
- Corner-alignment lines
- Circles and cubes for aspect-ratio checks
- Safe-area frames for logos and text
- Moving objects crossing the seam
- Dark gradients and solid colors for display inspection
Keep essential branding away from areas where perspective compression is severe. Short, legible messages work better than paragraphs. The strongest 3D sequence should remain understandable within the real audience dwell time.
Coordinate Processing for 3D LED Wall Content
Confirm media-server output, frame rate, resolution, color format, processing path, and backup method. Avoid scaling the master canvas at several points in the chain because each conversion can soften detail or shift alignment. Document controller mapping and synchronize both faces. Test signal loss, source switching, recovery, scheduled playback, and content updates. Where multiple processors are required, verify frame-accurate behavior across the corner. The final system should preserve the same pixel map used by the content team. A late controller remap can invalidate the approved perspective render.
On-Site 3D LED Wall Calibration
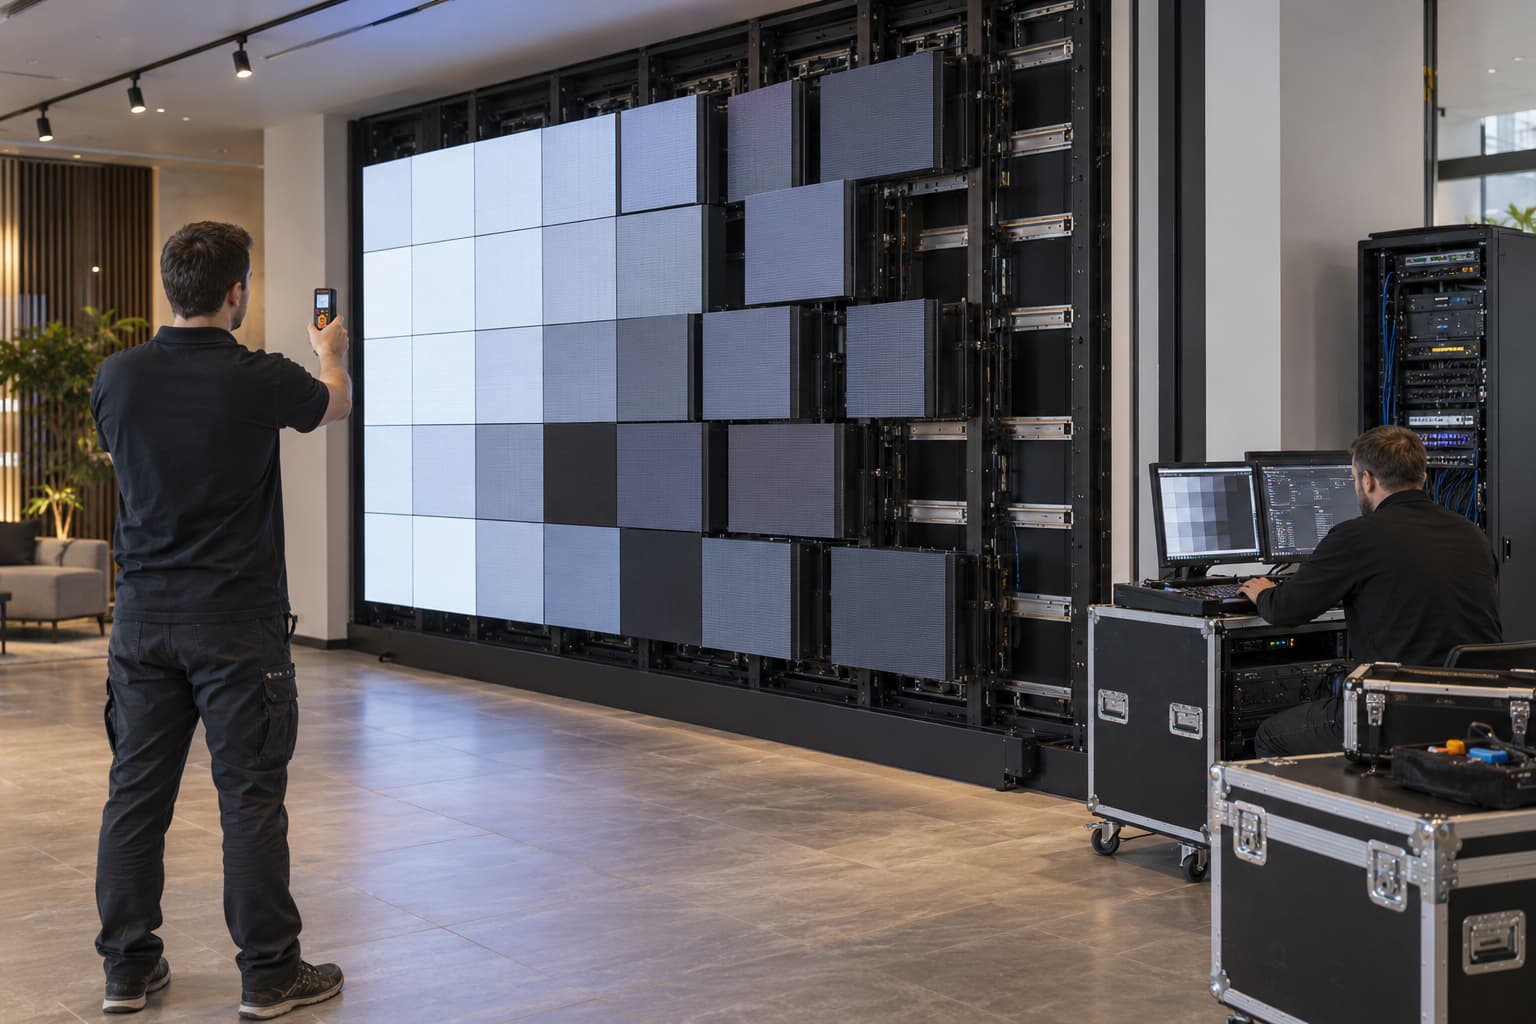
Review geometry first from the primary viewing point, then walk the secondary zones. Inspect the corner seam, cabinet alignment, brightness, color, black level, reflections, moiré, and content framing. Run the final animation and technical patterns. Record the approved screen configuration, pixel map, content version, processor file, brightness schedule, camera settings used for verification, and viewing-point coordinates. Send JR Visual the site plan, wall dimensions, corner angle, main viewing point, audience movement, closest distance, ambient-light conditions, camera requirements, and content concept. Those inputs support a geometry and workflow review.
3D LED Wall Geometry Questions
What determines the best viewing position?
The best point depends on the actual audience path, wall dimensions, corner angle, screen height, expected viewing distance, and the camera or eye position used to render the anamorphic scene.
Can the effect work from every angle?
No. The strongest illusion is normally optimized for one primary viewing zone. Secondary zones can remain visually acceptable, but the apparent depth and geometry will weaken as the viewer moves away from the designed perspective.
Should pixel pitch be selected first?
Evaluate the two decisions together. The closest audience and camera distances affect pixel pitch, while the final screen geometry and resolution affect the content canvas and render perspective.
What information should a buyer send for a proposal?
Send a dimensioned site plan, wall size, corner angle, audience route, preferred photo point, viewing distances, ambient light, camera requirements, and example content concept.