
A flexible module can form a curve, but the module alone doesn’t define the final radius. Cabinet dimensions, module joints, magnets, frame tolerances, cable clearance, ventilation, pixel pitch, service access, and content mapping all affect the result. Buyers should specify the required geometry before selecting the product. Express the required curve as a measurable radius, arc length, angle, and screen height. Descriptions such as “slightly curved” or “wraparound” are not precise enough for engineering, quotation, or content production.
Define the Flexible LED Display Curvature
Provide a plan view and elevation with the inner or outer radius, total arc angle, chord length, arc length, screen height, start and end points, and transitions to flat sections. Identify whether the screen is concave, convex, S-shaped, cylindrical, wave-shaped, or a compound surface. Ask the supplier to confirm the allowable radius of the complete Flexible LED Display assembly, not only the bending ability of one sample module. The support frame, module joints, power and data components, and service method may set a larger practical radius.
Distinguish Inner and Outer Radius
The inside radius and visible outside surface are not the same dimension. State which surface the drawing controls and include the screen thickness. This avoids cumulative errors when the frame is fabricated or when an architectural model is converted into production drawings.
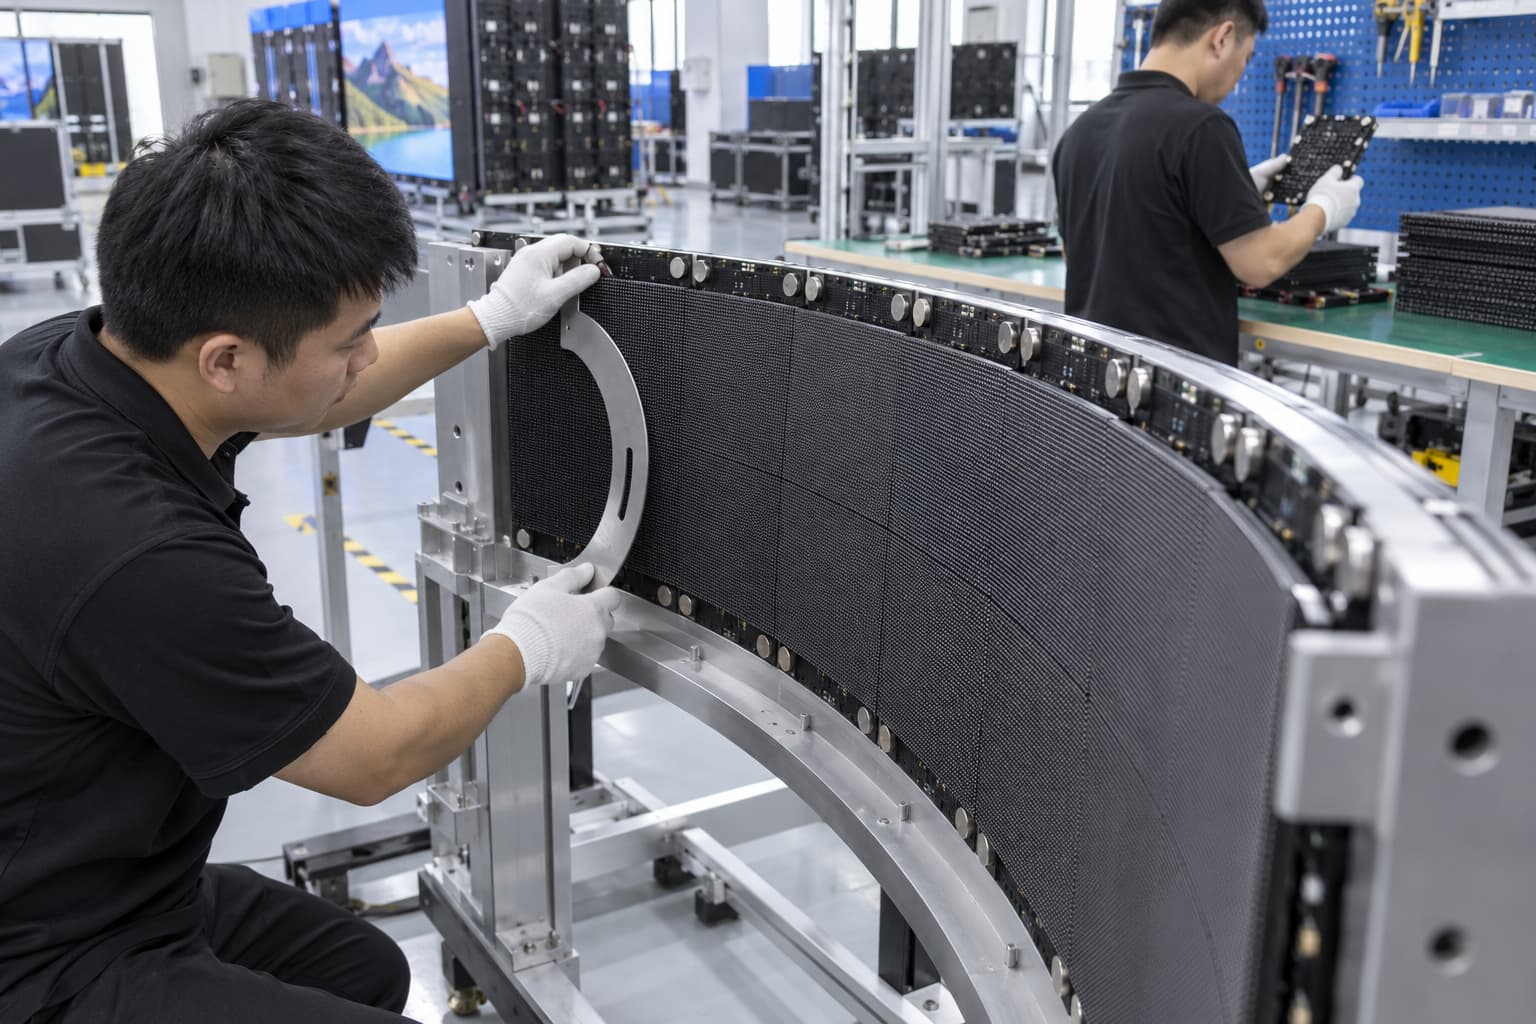
Translate Flexible LED Display Curvature into Module Geometry
Small modules can follow tighter curves and reduce visible faceting, but they create more joints, connectors, magnets, and alignment points. Pixel pitch should follow the closest viewer, content detail, camera use, and expected surface smoothness. A fine pitch does not correct a poorly formed frame. Ask how the chosen flexible LED screen forms the requested radius at every module joint. The reply should state module dimensions, the supported radius range, connection clearances, alignment method, and whether concave and convex assembly use the same hardware.
Engineer the Supporting Frame
The frame must hold the specified radius along the full height and width. Define allowable deviation, module support points, seam alignment, attachment method, leveling, ventilation, power access, cable bend radius, and the building interface. Fabrication tolerances can accumulate across a long curve and create visible steps or gaps. Flexible LED display structure drawings should show reference datums and inspection points. For segmented frames, label each section and define how installers verify the radius after assembly. Do not rely on the magnets to pull an inaccurate structure into shape.
Plan Transitions in the Flexible LED Display Structure
A curve that starts abruptly beside a flat wall can create alignment and content problems. Define tangent points, transition lengths, end trims, corner details, and any change in radius. For full rings or circular formats, a Circle LED Display may provide a more purpose-built route than forcing a general flexible wall into a closed shape.
Diagnose Flexible LED Display Structure Risk from the Audience Position
The closer the audience, the more likely it is to see module joints, brightness changes, and polygonal faceting. Mark the closest and farthest viewers, eye height, side angles, and camera positions. Use a full-height mock-up for tight mockups or premium close-viewing projects. The AVIXA display size and viewing guidance provides useful definitions for closest viewer distance, viewing height, image area, and conforming viewing zones. Apply those concepts to the final curved geometry and content.
Prepare Content for Flexible LED Display Curvature
Request the final native resolution, module map, processor canvas, curve geometry, seam positions, content orientation, and visible safe area. A flat preview cannot show how text, faces, circles, or product shapes will appear across a strong curve. Flexible LED display curvature changes how viewers perceive scale and perspective. Test representative content on the actual radius. Keep critical copy away from high-distortion side zones and avoid thin elements that break across module joints.
Decide Where the Hero View Sits
A concave screen may surround one primary audience zone, while a convex column supports circulation around the display. Identify the hero view before content production so perspective, focal position, and safe areas match the space.
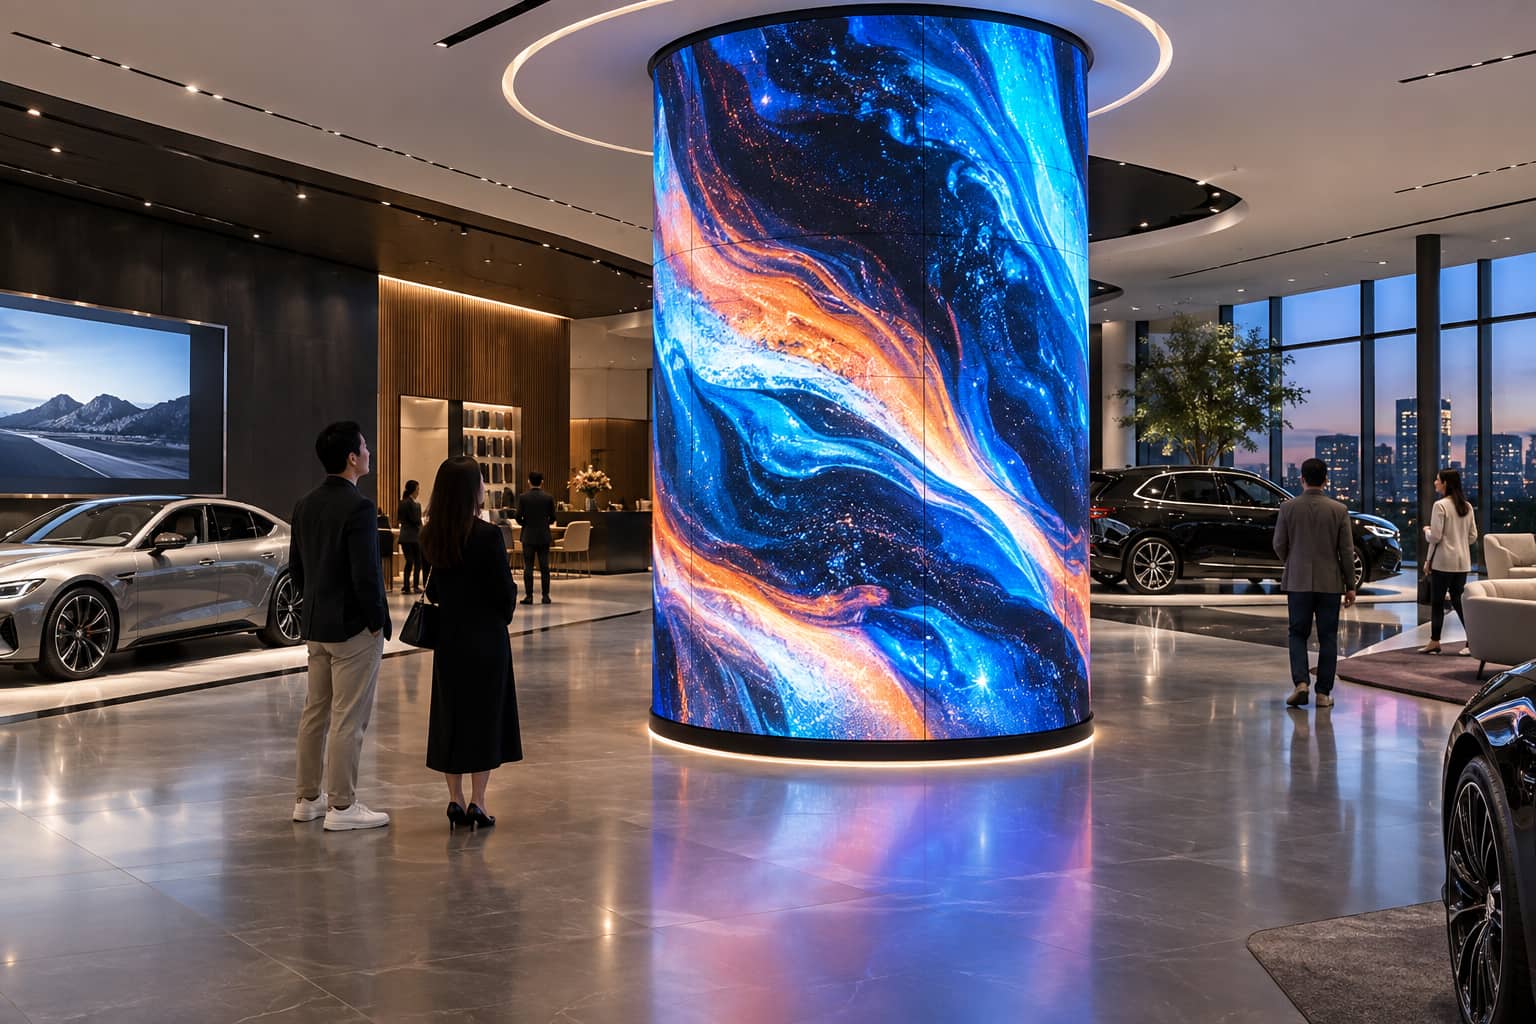
Sequence the Flexible LED Display Installation
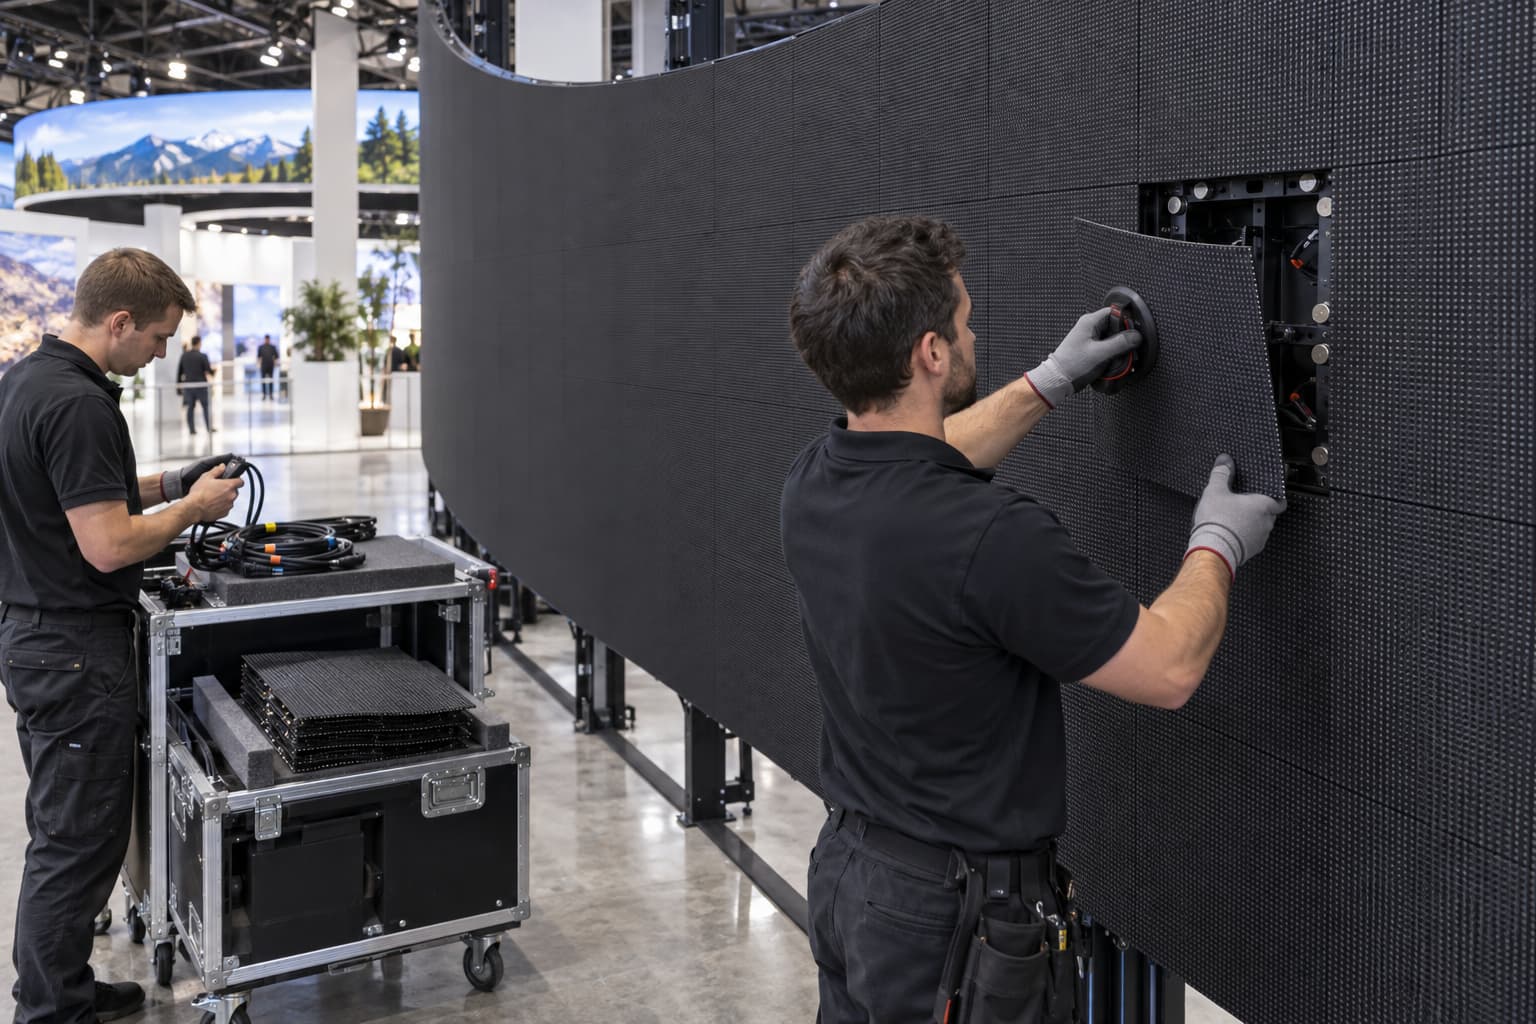
Confirm the delivery route, frame segmentation, lifting method, installation sequence, alignment tools, temporary supports, power zones, data paths, grounding, ventilation, access equipment, and daily work limits: pre-label frame and module positions to reduce errors during assembly. Before installation, dry-fit enough of the flexible LED panel system to prove the tightest radius, transition point, module removal path, cable clearance, and surface alignment. This test is more useful than approving a single loose module that is not attached to the production frame.
Define Flexible LED Display Maintenance
State whether service is from the front, rear, top, or an adjacent access panel. Confirm how modules are removed at the tightest radius, how technicians reach power and receiving components, and whether nearby finishes block tools or hand clearance. Flexible LED display maintenance should include spare modules formed for the approved radius, calibration files, labeled cables, frame inspection, magnet and fastener checks, cleaning procedures, and a method for replacing modules without changing the curve.
Diagnose Surface Faults After Assembly
| Visible symptom | Likely item to check first |
| Repeated vertical facets | Frame radius or module support spacing |
| One raised seam | Datum, magnet seating or local frame tolerance |
| Color band along a joint | Calibration, receiving map or replacement batch |
| Distorted circles or faces | Content mapping and hero viewing position |
| Module cannot be removed | Service clearance at the approved radius |
| Heat concentrated at the curve | Ventilation path and cable congestion |
Inspect the surface from the closest viewer, the hero viewing point, and strong side angles. Use grayscale, solid colors, grid patterns, moving lines, and final content. Record any seam, brightness, color, or geometry defect with its exact module and frame position.
Release Data for the Flexible LED Display Structure
Issue controlled CAD drawings with radius, angle, arc length, height, transitions, screen thickness, architectural interfaces, viewing zones, and service access. A rendering can communicate design intent, but it cannot control fabrication. The supplier must confirm the geometry against module, cable, frame, and service limits.
When Flexible LED Display Curvature Needs a Mockup
Require a mockup for tight mockups, compound curves, close viewing, premium interiors, camera use, or any project where seam quality and content distortion are critical. Build the mockup with the mockup frame, modules, cabling, and removal tools so it tests the system, not just the LED surface.